Ever tried a preschool craft that turned into a total disaster? Glitter on the floor, food coloring on little fingers, and a bottle that leaked everywhere. Yep, we’ve all been there. Kids love to shake and swirl things, but finding the perfect activity that’s both engaging and mess free can feel impossible. That’s where sensory bottles step in.
But here’s the truth: not every DIY sensory bottle turns out Instagram worthy on the first try. We’ve had lids pop off mid shake, oil and water separating in not so pretty ways, and even the occasional moldy bottle hiding in the corner. Making sensory bottles that actually last and look beautiful takes a little know how, a dash of patience, and a sprinkle of creativity. Without the right sensory bottle ingredients, your calming glitter bottle can quickly become a clumpy mess.
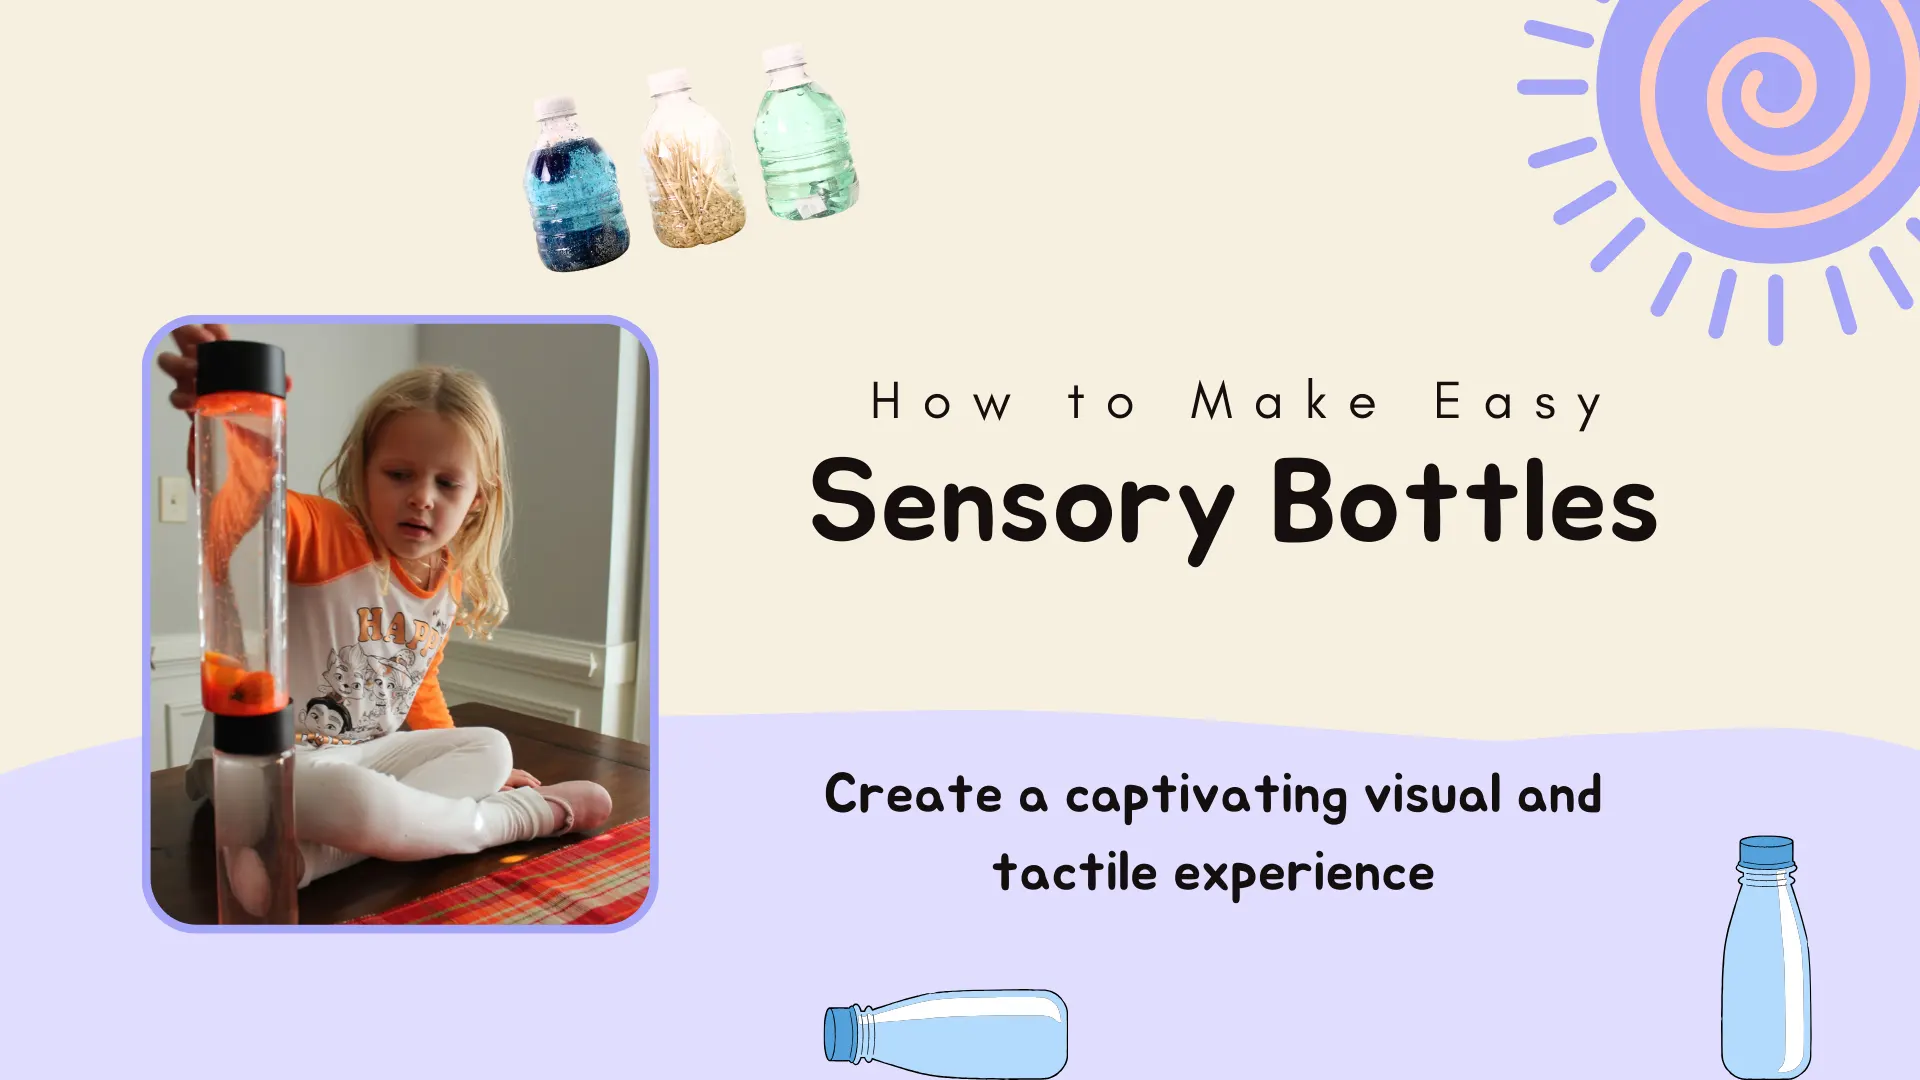
So, grab an empty bottle, round up a few simple supplies, and let’s get started! In this guide, we’ll cover the essential materials and easy tricks that will help you master the art of making homemade sensory bottles without the mess, frustration, or guesswork.
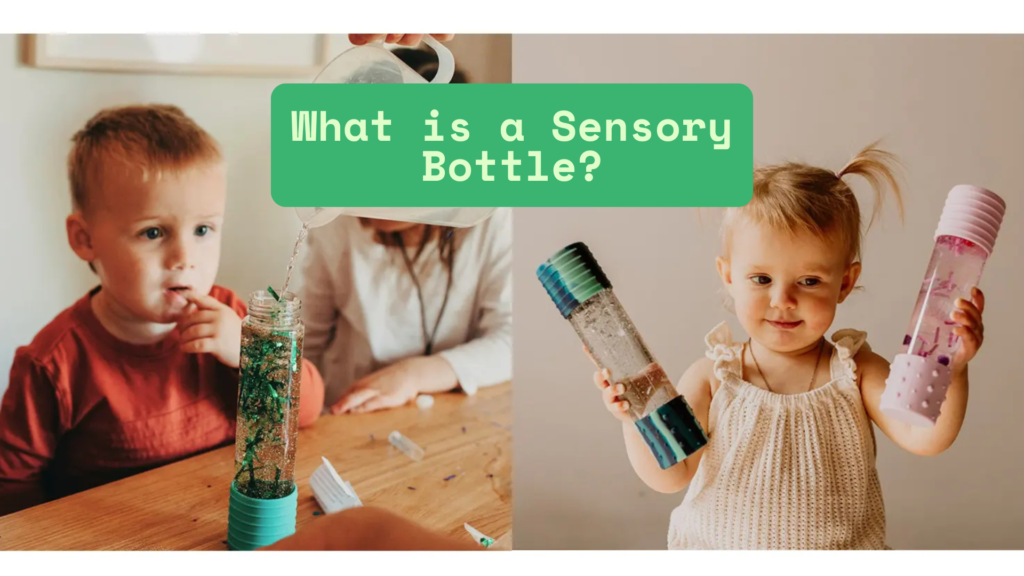
What is a Sensory Bottle?
A sensory bottle is a clear, sealed container filled with engaging materials that move, swirl, or gently sink when shaken or tilted. You might also hear people call them sensory jars, discovery bottles, calm down bottles, or sensory water bottles. Designed for small hands, they turn simple motions into safe, mess free bottle sensory play that supports attention, curiosity, and self regulation.
Because they are sealed, sensory bottles offer the wonder of pouring, mixing, and observing without the spills. Children can shake, flip, and roll them safely, which makes sensory bottles a practical choice at home, in classrooms, and during travel. In short, they are simple tools that transform everyday materials into captivating, hands on learning.
Benefits of Sensory Bottles for Child Development
Calming and Emotional Regulation
One of the most valuable roles of sensory bottles is emotional support. Watching glitter drift in a glitter sensory bottle or small toys swirl inside a sensory jar creates a soothing effect. These calming sensory bottles help children relax, slow their breathing, and manage strong emotions. For kids with autism or sensory processing challenges, autism sensory bottles are often used as safe calm-down tools.
Fine Motor Skills Development
Handling DIY sensory bottles strengthens little muscles in the hands and fingers. Preschoolers twist the lids, shake the bottles, and tip them upside down—all of which support coordination. These skills prepare children for writing, cutting, and self-care activities later on. Even a simple glitter water bottle sensory can double as fine motor exercise.
Encouraging Curiosity and Learning
Children are natural scientists. When they play with homemade sensory bottles, they experiment with speed, force, and direction: “What happens if I shake it really fast?” or “Why do oil and water separate in the bottle?” A water oil sensory bottle or a water and glitter in a bottle becomes a mini science lesson, introducing concepts like cause and effect, density, and observation.
Focus and Mindfulness
Preschool sensory bottles encourage stillness and attention. In busy classrooms or noisy homes, a glitter water bottle can become a peaceful focal point. Teachers often keep calm sensory bottles DIY projects in “quiet corners” where children can reset before returning to group activities. This helps kids build patience, focus, and mindfulness in a simple, playful way.
Creatividad e imaginación
Every diy sensory bottle tells a story. A few seashells inside turn it into an ocean sensory bottle, while snowflake confetti transforms it into a winter sensory bottle. These small themes fuel storytelling, spark imaginative play, and encourage children to create their own magical worlds.
Sensory Bottle Ingredients
When it comes to making sensory bottles, the magic lies in the mix of liquids, solids, and sometimes even foods. Choosing the right sensory bottle ingredients determines whether your bottle becomes a calming glitter swirl, a noisy shaker, or a themed discovery tube. Below, we’ll break down three main categories of ingredients and how to use them effectively.
Liquid Ingredients
Agua
The simplest and most common base for DIY sensory bottles is plain water. It’s safe, mess free, and allows fillers like beads, glitter, or sequins to move freely. A basic water and glitter in a bottle recipe is often the starting point for beginners.
Colored Water
Add food coloring or liquid watercolor to create vibrant colorful bottles. Kids love guessing which shades will blend together. For example, blue water plus tiny plastic fish instantly becomes an ocean sensory bottle.
Mineral Oil
Heavier than baby oil, mineral oil slows movement, making it perfect for calming sensory bottles. Combined with water, it demonstrates liquid density—a great mini science lesson for preschoolers.
Baby Oil
Baby oil gives a silky smooth effect in water oil sensory bottles. Its clarity and lightweight texture make it a favorite for glitter sensory bottles, where glitter swirls slowly before settling.
Oil Dye
Regular food coloring doesn’t mix well with oil, but oil dye is designed for it. Use oil dye to tint sensory jars with bold, vivid colors without muddying the water layer.
Cooking Oil
An inexpensive alternative to mineral or baby oil. Cooking oil works well in homemade sensory bottles, especially if you’re experimenting with density play. The separation between oil and water fascinates kids and sparks questions like, “Why don’t they mix?”
Liquid Soap
Liquid soap or body wash adds thickness, slowing down the swirl of glitter and beads. This makes it ideal for glitter bottle calming projects. Clear soaps let colors shine through, while pearly soaps add shimmer to your diy sensory bottle.
Elmer’s Clear Glue
A favorite among crafters, clear glue for sensory bottles gives that slow-motion drift preschoolers find mesmerizing. When combined with glitter, it creates the classic glitter water bottle sensory effect. It’s also safer than hot glue as it stays mixed in the liquid rather than just sealing the lid.
Dry Ingredients
Glitter
The superstar of glitter sensory bottles. Glitter reflects light beautifully and works well in glitter and water in a bottle or glue-based bottles. Fine glitter drifts slowly, while chunky glitter adds sparkle and dimension.
Sequins
Larger than glitter, sequins catch the light and provide visual variety. They’re great for holiday-themed sensory bottles DIY, like snowflake sequins for a winter sensory bottle or pumpkins for a Halloween sensory bottle.
Gems and Beads
Colorful gems and beads add texture and weight. Letter beads turn a bottle into an alphabet-learning tool, while shiny gems make a sensory jar DIY look like treasure.
Magnets
Magnets add an interactive twist. Pair them with a magnetic wand, and kids can move objects inside the bottle without opening it. This makes for an engaging STEM-inspired sensory bottle idea.
Feathers
Lightweight and soft, feathers float gently through water, creating a calming visual effect. A rainbow of feathers inside a preschool sensory bottle adds both color and movement.
Confetti
Confetti comes in endless shapes—stars, hearts, flowers, or holiday themes. Perfect for Christmas sensory bottle orbirthday party bottle, confetti
Sand
Sand adds weight and texture. Combine it with shells or pebbles for a nature sensory bottle, or use colored sand for bright plastic bottle crafts for preschoolers. Shaking the sand creates a soft sound effect, making it both visual and auditory.
Dried Foods
Pasta
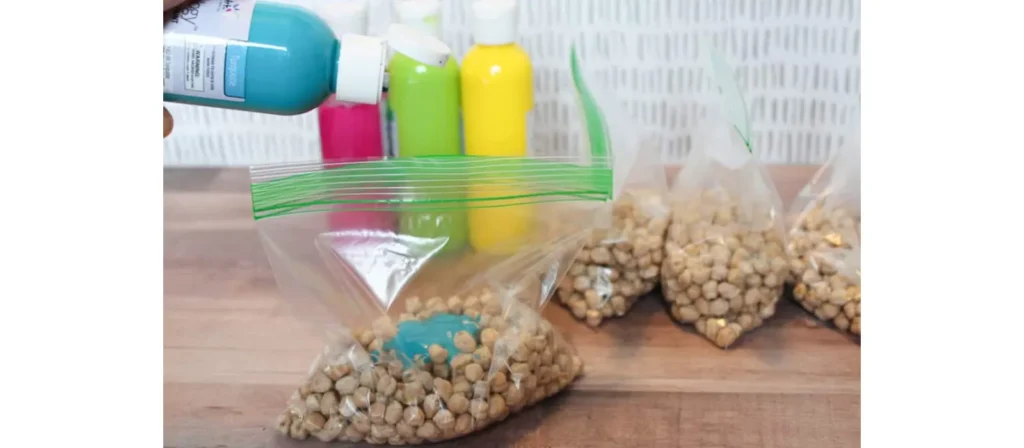
Colorful pasta is a preschool favorite. Use food dye to create rainbow pasta, then fill empty sensory bottles for sound play. They double as plastic bottle crafts for preschoolers, teaching both colors and textures.
Rice
Rice is one of the most versatile fillers for DIY sensory bottles. Dye it with food coloring for a rainbow effect or leave it plain for a simple shaker. It’s lightweight, inexpensive, and safe.
Beans
Larger and heavier than rice, beans make a satisfying rattling sound in sensory jars for kids. Mix different types for varied colors and textures.
Split Peas
Split peas are smaller than beans but still add great texture. Green peas contrast beautifully with bright-colored beads or buttons in homemade sensory bottles.
Dry Candy
For a fun twist, try dry candy like Skittles, jelly beans, or M&Ms. They turn diy sensory bottles into colorful, edible-looking displays (though make sure bottles stay tightly sealed). Kids love the look, and it’s perfect for themed bottles like Easter sensory jars.
These three categories—liquid, dry, and dried foods—cover the most reliable sensory bottle ingredients. By mixing and matching, you can create endless sensory bottle ideas, from calming glitter swirls to noisy shakers to themed bottles for every season.
Sensory Bottle Ideas
Every child is different, which is why there are endless ways to design DIY sensory bottles. Some bottles are calming and slow moving, while others are bright and imaginative. Here are some of the best sensory bottle ideas to try at home or in the classroom.
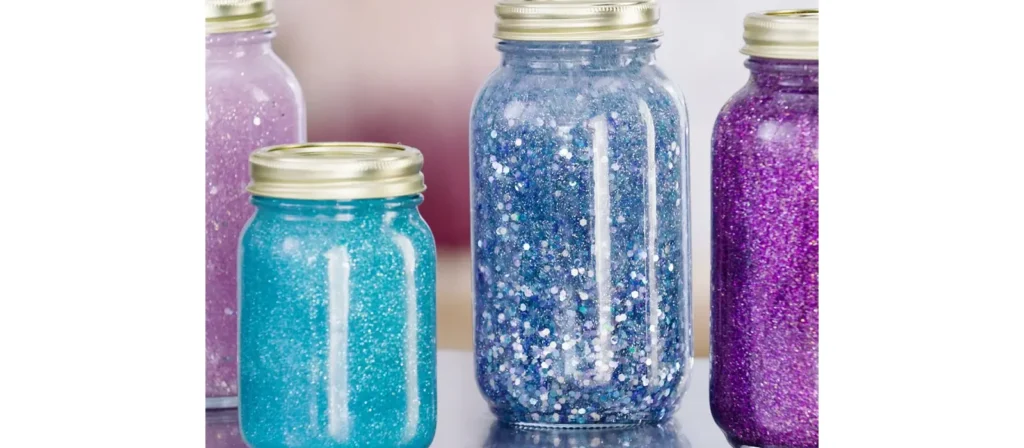
Glitter
Glitter is the most classic choice and creates a sparkling, calming effect that preschoolers love. By mixing glitter and water in a bottle with a bit of clear glue or glycerin, you can slow the motion and turn it into a glitter bottle calming tool. Fine glitter gives a snow globe feel, while chunky sequins or confetti make a dazzling glitter water bottle sensory display.
Ocean
An ocean sensory bottle brings the sea to life with blue colored water, seashells, fish toys, or pebbles. Topping the bottle with baby oil creates wave-like movement, and adding sand at the bottom makes it look like a real beach inside your sensory jar DIY.
Weather
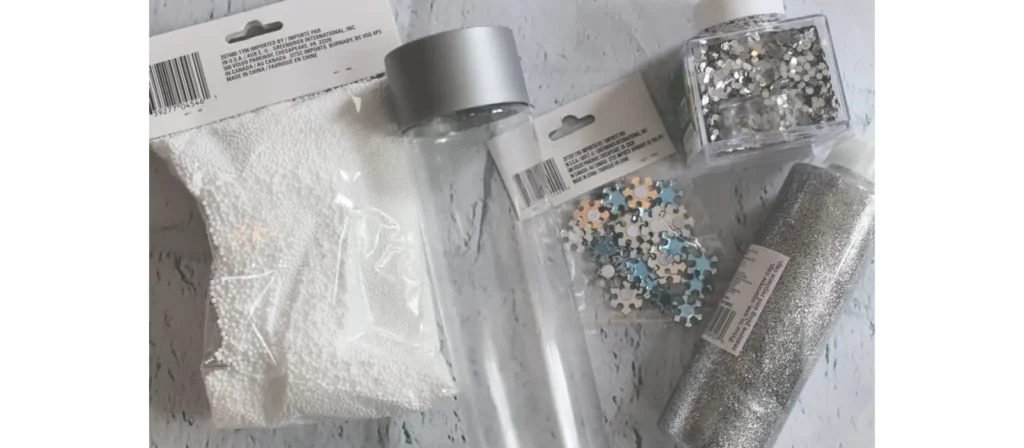
Weather sensory bottles are both fun and educational, helping children observe natural phenomena safely. Blue water with silver glitter creates a rainstorm, dish soap in water forms a swirling tornado, and fake snow or white glitter in glue makes a winter sensory bottle that looks like falling snow.
Holiday
Festive bottles add seasonal magic and work perfectly as plastic bottle crafts for preschoolers. A Christmas sensory bottle can feature red and green sequins with mini bells, while a Halloween sensory bottle might include orange glitter, black beads, and tiny spiders. For Easter, pastel confetti and small eggs inside clear glue create a cheerful holiday theme.
Calming
Sometimes called calm sensory bottles or calm down bottles, these designs focus on emotional regulation. A simple glitter water bottle with extra glue or glycerin makes the glitter drift slowly, offering children a visual timer to help settle big feelings, which is especially helpful for sensory bottles for autism.
Light-Up
Adding glow sticks, waterproof LEDs, or glow-in-the-dark beads turns a plain jar into a light up sensory jar. These bottles are perfect for bedtime routines, night-themed classroom activities, or even holiday fun when glowing lights make everything magical.
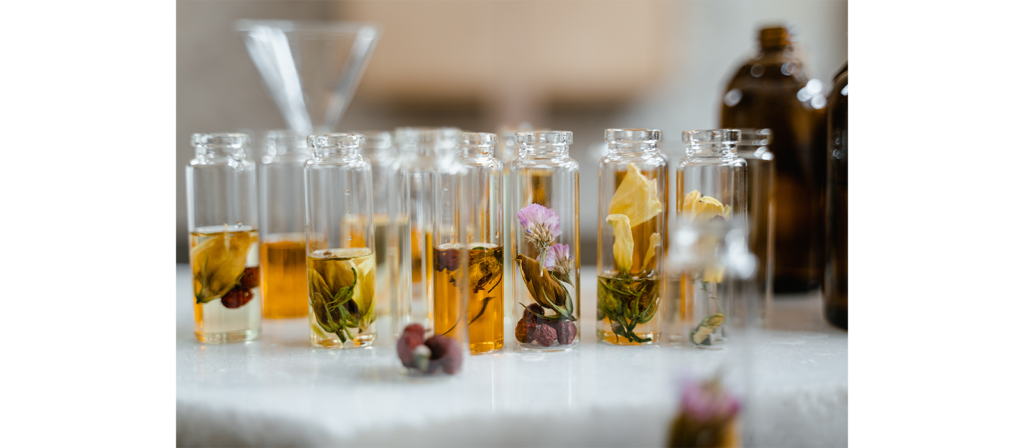
Nature and Discovery
Nature sensory bottles use leaves, flowers, pebbles, or pinecones to bring the outdoors inside, giving kids a safe way to observe textures and colors. Discovery bottles, often filled with rice, hide small toys, buttons, or letters for children to shake and search through—an engaging sensory jar DIY that encourages observation and focus.
With these sensory bottle ideas, you can create a full collection for your preschooler: calming bottles for quiet time, holiday bottles for celebrations, science bottles for learning, and playful bottles for imagination. The possibilities are truly endless.
How to Make Sensory Bottles
Creating DIY sensory bottles may look simple, but a few tricks can make the difference between a leaky, clumpy bottle and a durable, mesmerizing one. Here’s a step-by-step guide to help you master making sensory bottles that preschoolers will love.
Step 1: Choose the Right Bottle
Begin with a clear, sturdy plastic bottle that is lightweight and easy for small hands to hold. The best bottles for sensory bottles are smooth with wide necks so fillers fit in easily. You can reuse empty water bottles or juice bottles, or purchase craft bottles plastic designed for sensory play. Avoid glass for safety, and if you prefer something ready to go, empty sensory bottle kits are also an option.
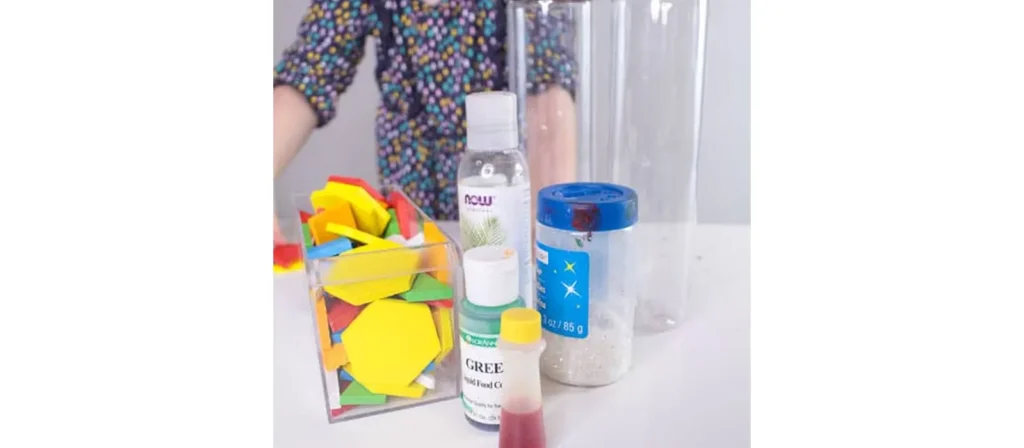
Step 2: Pick Your Sensory Bottle Ingredients
Decide what kind of bottle you want: calming, noisy, colorful, or themed. Your choice of sensory bottle ingredients will set the tone.
- For a soothing effect: Glitter, sequins, and clear glue for a glitter bottle calming tool.
- For sound play: Dry fillers like rice, beans, or pasta.
- For science fun: Oil and water for a water oil sensory bottle.
- For learning: Alphabet beads or numbers hidden in rice for a discovery-style sensory jar DIY.
Step 3: Add the Liquid Base
Now it’s time to add liquid. This step creates the motion inside your sensory jars.
- Water and glitter in a bottle: The classic, simple recipe.
- Water and oil sensory bottle: Add colored water first, then top with oil. Shake to see liquids separate beautifully.
- Glue and glitter sensory bottle: Use Elmer’s clear glue mixed with warm water for a slow, calming swirl.
- Liquid soap bottles: Great for creating bubbles and foam when shaken.
If you’ve wondered “How to make a glitter sensory bottle?” or “How to make sensory bottles with glue?”, this is the step where it all happens.
Step 4: Add Dry Fillers
Pour in your chosen fillers. Glitter, beads, sequins, feathers, or even dried foods like rice and pasta can bring the bottle to life.
- Add sequins for sparkle.
- Use small toys or trinkets for themed bottles like Halloween sensory bottles or Christmas sensory bottles.
- Try natural fillers like sand and shells for ocean sensory bottles.
Step 5: Seal the Bottle Securely
A strong seal keeps the fun inside and messes out. Apply hot glue or super glue around the cap before tightening it, then reinforce with colorful tape for extra safety. Always test by shaking hard to ensure your homemade sensory bottle won’t leak—better now than later on your carpet.
Step 6: Test and Adjust Your Recipe
Shake your DIY sensory bottle to see how it looks. Too fast? Add more glue, soap, or oil to slow the movement. Too slow? Add a little more water.
This is where trial and error makes all the difference. Even experienced crafters admit that making sensory bottles often takes a few tries before you find the perfect recipe.
Step 7: Decorate and Personalize
Once your bottle works, it’s time to make it fun and unique. Wrap the outside with washi tape, stickers, or ribbon. Preschoolers love colorful designs, and decorating makes the bottle feel like theirs.
Tips for Popular Sensory Bottle Types
Calming glitter bottle
This bottle creates a soothing, slow-falling effect, making it a classic “calm-down jar.”
- Adjust the flow: The ratio of clear glue to warm water controls how quickly the glitter settles.
- Adding more clear glue slows the glitter.
- Adding more warm water speeds up the glitter.
- A splash of glycerin or clear corn syrup can create a very slow, mesmerizing effect.
- Mix different glitters: A combination of fine and chunky glitter adds depth and variety. Small, light objects like sequins or plastic jewels can also be added.
- Use hot water (for glitter glue): Hot or boiling water helps pre-mixed glitter glue mix evenly without clumping.
- Prevent clumps: Add glitter slowly and shake it between additions to prevent clumping.
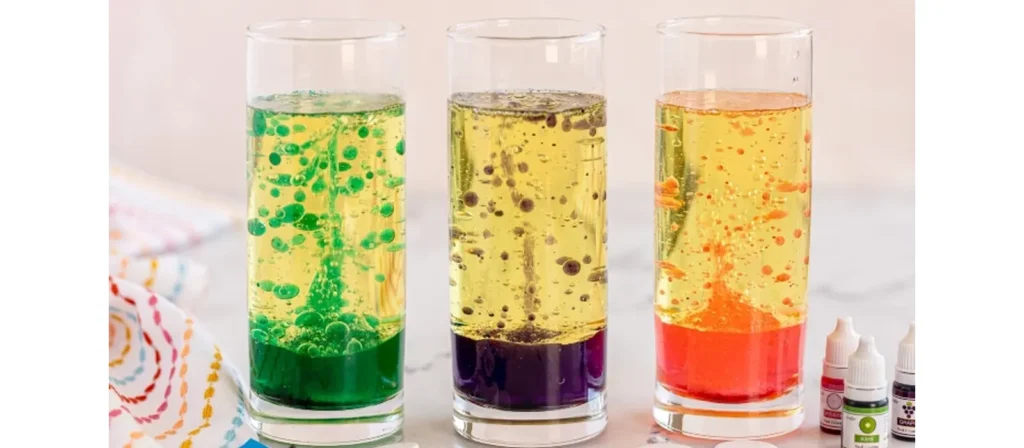
Oil and water “lava lamp” bottle
This bottle creates a fascinating visual effect as the two liquids separate and colored drops move through the oil.
- Get a good separation: The immiscibility of oil and water is what makes this bottle work. If shaken too much, the mixture can become cloudy, but the layers will separate again after a few minutes.
- Use water-based coloring: Add a few drops of food coloring to the water first. Since food coloring is water-based, it will only color the water, not the oil, which is key to creating colorful floating bubbles.
- Leave air space: Leave some space at the top of the bottle for air. Gently tipping the bottle allows the air bubble to travel through the mixture, creating more movement.
- Experiment with density: Add small objects with different densities to see how they behave. An object with a density similar to oil will float in the oil layer.
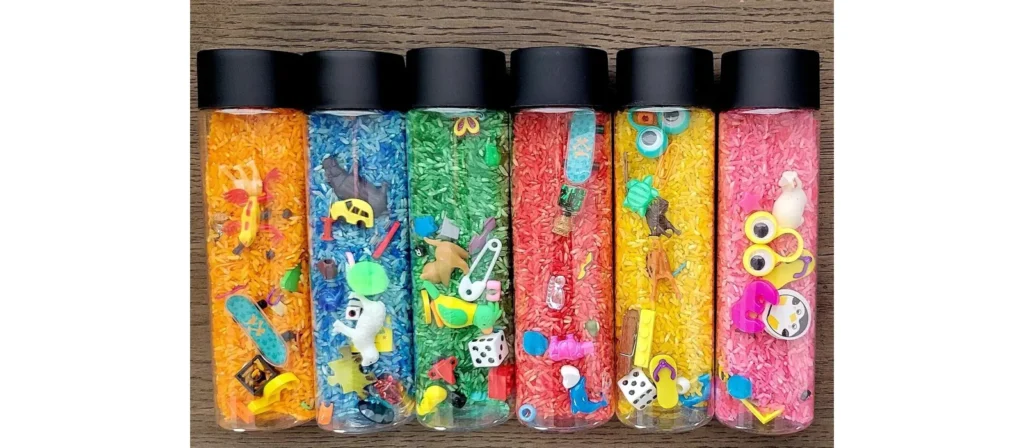
“I Spy” bottle
This bottle is filled with dry materials, challenging a child to find hidden objects.
- Control the filler: Use rice, sand, or uncooked pasta as the filler. A colored filler that matches some of the hidden objects can make it more challenging.
- Choose the right objects: Gather small, visually distinct items that fit through the bottle’s mouth. Consider using:
- Mini erasers
- Alphabet beads
- Small plastic gems
- Tiny animal figures
- Make a spy card: Before filling the bottle, take a picture of the items inside. Print and laminate this picture to create a “spy card” that shows what needs to be found.
- Don’t overfill: Leave enough room at the top so the contents can be shaken and shifted, allowing the hidden objects to be discovered.
Making Together with Kids!
Sensory bottles may look simple, but they hold endless possibilities for play, learning, and calm. For preschoolers, these bottles encourage creativity, build fine motor skills, and support emotional regulation. For parents and teachers, they’re easy to make, mess free, and endlessly adaptable. Just like sensory bins, they turn ordinary items into powerful tools for hands-on learning and fun. Whether you choose calming designs, playful discovery bottles, or themed DIY sensory bottles for holidays, the process is just as valuable as the finished result.
En Xihakidz, we believe childhood should be full of creativity, curiosity, and joy. That’s why we not only design high-quality children’s furniture and toys, but also support simple, hands-on activities. Together, these elements create safe, inspiring spaces where kids can grow, learn, and play every day.
So grab a clear bottle, a handful of simple sensory bottle ingredients, and a spark of imagination. With a little creativity and patience, you can create DIY sensory bottles that bring joy, calm, and curiosity to every child’s day.